
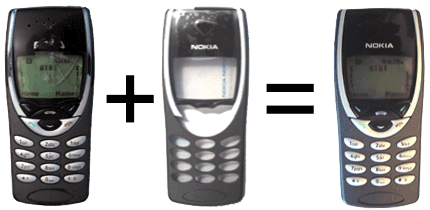
I managed to crack my phone’s case pretty bad the other day. After the local AT&T Wireless store told me they couldn’t fix it, and I should spend $150 on a new phone, I decided to repair it myself. I ordered a (Genuine Nokia®) replacement faceplate and a Torx T-6 driver, from AWS Wireless, and UPS delivered it today! Yay!
Nokia says the faceplate on the Nokia 8260 isn’t user-replaceable, and they’re not kidding. I tried following instructions I found on the Web, but they don’t warn you of the myriad of random pieces of telephone that fall out when you open the phone, and that it takes an hour or two to figure out where they all go, etc… I was able to put the phone back together with the new faceplate, though, and it all seems to work pretty well, except that a few of the buttons are a little off. I might have to open it back up again sometime.
I do have a few pieces of plastic left over. I’m not sure where they go. The phone seems to work, though, so I’ll assume that they were part of the original (damaged) faceplate.
Hi Alexie, I was reading your article on replacing the nokia 8260 faceplate. I’m planning on doing the same thing but I can’t seem to find any instructions. Do you know where you found the instructions on the internet? And do you have any tips you could provide me on what not to do?
Thanks,
Ronson
I don’t remember which instructions I used when I did the replacement, but doing a Google search for “Nokia 8260 faceplate instructions” turns up a few sets of directions, so you might start there. These instructions look familiar, so they might have been what I used.
I can only advise being very careful, having a clean workspace, and keeping a close eye on what you are doing. Unfortunately, I can’t remember many of the details on what exactly I had trouble with. The hardest part was definitely putting the phone back together correctly. I had some difficulty getting the keypad to line up properly with the faceplate and getting the microphone and speaker (which are not attached to the circuit board, but are held in place by the case) to stay in place. One hint there, that I eventually discovered, is that it is much easier if you replace the parts into the front faceplate, rather than trying to fit the faceplate onto the circuit board in the normal fashion.
Thanks a lot for your post, it was very useful for me…
It’s very strange, but I didn’t find this information in my native language (Spanish), so thanks again.